Banh Mi-Style Vietnamese Chicken Salad – 3 PointsPlus

Salads are my go-to lunch when I am in a rush. You really can’t go wrong with a salad.

Vietnamese Chicken Salad

This Banh Mi-Style Vietnamese Chicken Salad from the Weight Watchers Make & Take Meals was quick and easy to make, but had a little more to it than a plain salad.

Vietnamese Chicken Salad

So I got out all the ingredients I needed and set to work.

Vietnamese Chicken SaladFirst you want to weigh out your chicken. Luckily this piece was exactly the right size. Next cut it into strips. I cubed mine, but any way cut up is fine.

Vietnamese Chicken Salad

Next add your oil to a skillet on medium-high heat. Once the oil is hot, add your chicken to brown.

Vietnamese Chicken Salad

While your chicken is cooking you can make the dressing. In a large bowl whisk together the lime juice, soy sauce, chili sauce and garlic.

Vietnamese Chicken Salad

Once the chicken is browned you want to shred it. I did a chop/shred combo, but you just want to make it into super small pieces.

Vietnamese Chicken Salad

Next add the coleslaw to the bowl with the dressing. Then chop up your scallions and carrots (or buy pre-shredded carrots like me) and add that to the bowl.

Vietnamese Chicken Salad

Finally you want to add your chicken to the bowl and mix it all together.

Vietnamese Chicken Salad

After mixing I put the whole bowl into the fridge for a little to marinate. This way all to coleslaw soaks up the dressing.

Now split it into 4 containers and you have a healthy and delicious lunch to grab on your way out the door.

Banh Mi-Style Vietnamese Chicken Salad
Makes 4 servings | 3 Weight Watchers PointsPlus per serving
146 Calories, 4g fat, 7g carbs, 3g sugar, 2g fiber, 20g protein

Ingredients
1 teaspoon canola oil
¼ pound boneless, skinless chicken breast (cut into strips)
3 tablespoons lime juice
1 tablespoon reduced-sodium soy sauce
2 teaspoons Sriracha or chili sauce
1 garlic clove, minced
2 cups coleslaw mix
2 scallions, sliced
1 carrot, shredded

Directions
Heat oil in medium skillet over medium-high heat. Add chicken and cook until browned, about 8 minutes. Cook 5 minutes and shred with fork.

Meanwhile, whisk together lime juice, soy sauce, chili sauce and garlic in a large bowl. Add coleslaw, scallions and carrots and toss to combine. Stir in chicken.

Do you love salad?

Chicken Zucchini Noodle Pad Thai

So I haven’t done a recipe post in a while. Probably because I really haven’t been cooking anything interesting.

Tonight I finally decided to step it up and cook something new. Well this recipe was definitely a win and I cannot wait to make it again!

Chicken Zucchini Noodle Pad Thai

A few weeks ago, while strolling through the store, I saw a new kitchen contraption called the Veggetti. I had seen commercials for it and thought it would be cool so I got it. Ever since it has been sitting in my cabinet, waiting to be used. Well, tonight was the night.

Veggetti

While driving home from work my coworker Laura and I were taking about thai food. It made me REALLY want thai for dinner so I figured why not whip something up! I perused a few different recipes online, but settled on a rendition of this.

I started by getting all my ingredients out.

Ingredients

I never wound up using the pepper and I only used on carrot.

I also really love protein in my dinner since most of my breakfast and lunch are vegetarian. I defrosted some chicken I had in the freezer.

Chicken Raw

Then i cut it up into chunks and grilled in on the stove (with nonstick spray) until it was cooked.

Chicken Cooking

Then I got to work preparing my noodle pasta. I had used vegetables as a pasta substitute before (usually spaghetti squash) so I was excited to try more.

Veggetti Zucchini

First I spiralized the zucchini. I didn’t realize how much one and a half zucchini would make!

Zucchini

Then I decided to add more color and spiralized a carrot to add to the zucchini.

Zucchini Carrots

Once all my vegetables were made into pasta I cut it with a knife. This broke up the really long spiraled pieces into more manageable pieces.

Next I ground up 1/4 cut of peanuts in my Magic Bullet. Perfect powder.

Peanuts

Then I got to work cooking. First you scramble two eggs.

Eggs

Then I cleaned my pan out and added 1 tbsp peanut oil and 1 tbsp minced garlic and let it simmer for a minute.

Garlic Oil

Next I mixed up the sauce and added that to the pan.

Sauce

Once the sauce started to simmer I added in my noodles and tossed it with the sauce.

Cooking Noodles

Then I added in the chicken, peanut powder and egg and mixed it all together and let it simmer.

Chicken Zucchini Noodle Pad Thai

I kept stirring while it simmered so that all the sauce got on everything.

Then I split it into 3 servings and chowed down! It was absolutely delicious. Definitely something I am making again!

Chicken Zucchini Noodle Pad Thai

Ingredients
2 whole eggs
1/4 cup roasted peanuts
1 tbsp peanut oil
1 garlic clove, minced
2 medium zucchinis
9 oz. chicken

For the sauce:
3 tbsp freshly squeezed lime juice
2 tbsp fish sauce (or hoisin sauce, if you’re strict vegetarian)
1 tbsp reduced sodium soy sauce
1 1/2 tbsp chili sauce (I used chili garlic sauce)
1/2 tbsp honey

Instructions
1. Cut chicken into cubes and cook over medium high heat in a nonstick pan until cooked through
2. Wash vegetables being used. Then spiral in Veggetti (thick or thin depending on preference) and set aside in bowl.
3. Place the peanuts into a food processor and pulse until lightly ground (no big peanuts should remain, but it shouldn’t be powdery). Set aside.
4. Scramble the eggs and set aside.
5. Place all of the ingredients for the sauce into a bowl, whisk together and set aside.
6. Place a large skillet over medium heat. Add in peanut oil and garlic. Cook for about 1-2 minutes, stirring frequently. Add in the sauce and cook for another minute.
5. Add in the zucchini noodles and stir to combine thoroughly.
6. Cook for about 2 minutes or until noodles soften and then add in the chicken, scrambled eggs and ground peanuts. Cook for about 30 seconds, tossing to fully combine.
7. Plate onto dishes and enjoy!

Nutritional Information
Calories: 300
Total Fat: 12 g
Fiber: 6.4 g
Protein: 28.4 g

Chicken Zucchini Noodle Pad Thai

Spaghetti Squash Crust Pizza

I love to cook. Problem is I don’t usually have time to do it. I have vowed to try and make time, even if it’s just once a week, to cook something new. Yesterday I decided to try spaghetti squash pizza. I found the original recipe idea here. I love pizza, but it just has so many carbs. I figured any way to make it a little healthier was worth a try.

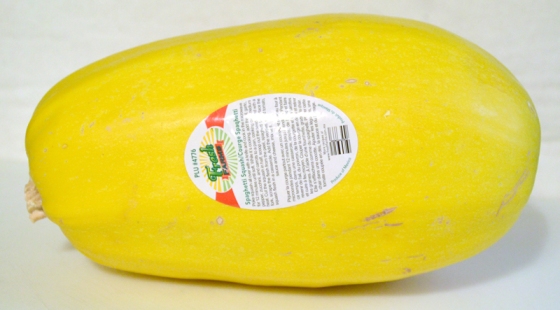
So the first thing you need to start with is your spaghetti squash. You need a bout 4 cups in the end so either a large one or two small ones will do.

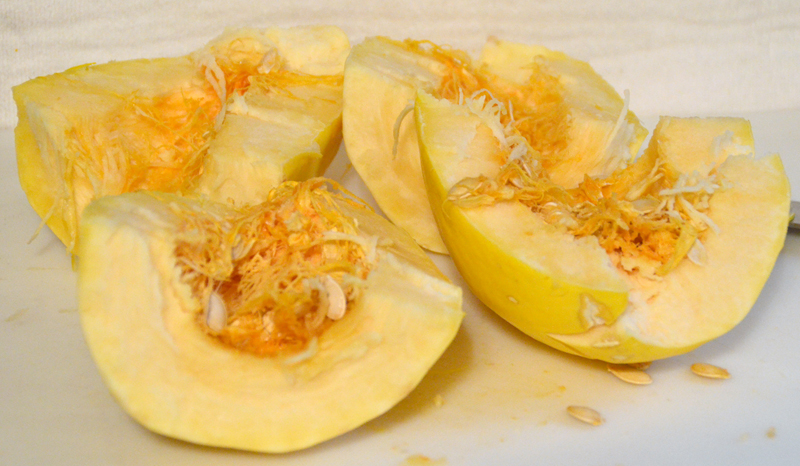
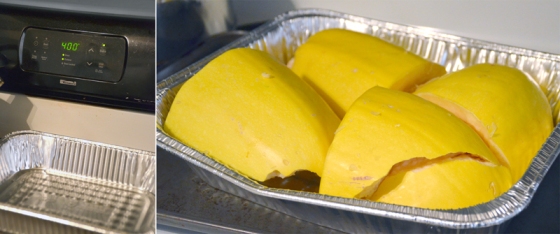
Poke holes in the shell and microwave it for about 5 minutes. This will make it softer to cut. In all honesty I didn’t know this until AFTER I hacked it up with a knife. You are going to want to cut it in half and then in half again.

Now you need to scoop out all the seeds (guts) with a spoon. Once they are all clean you want to preheat the oven to 400 and fill a tin with a little bit of water. Place the squash soft side down into the water and bake in the oven for 30-40 minutes.

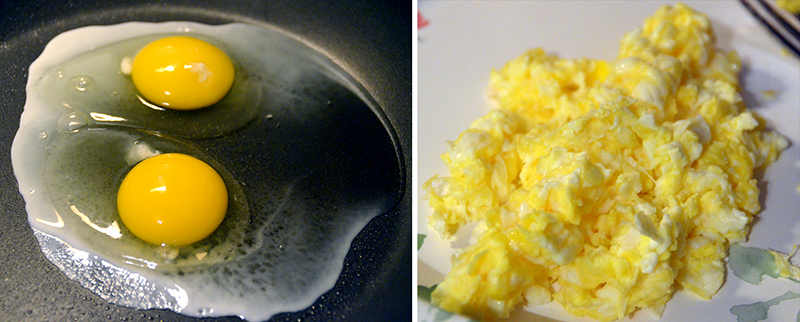
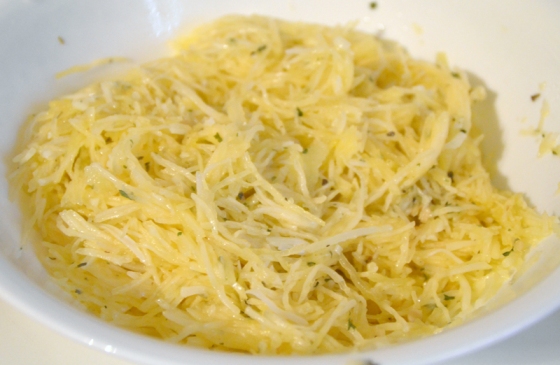
While your squash is baking you can start putting together the other crust ingredients. In a large bowl add the cheese (3/4 cup), egg, egg whites, garlic and spices.

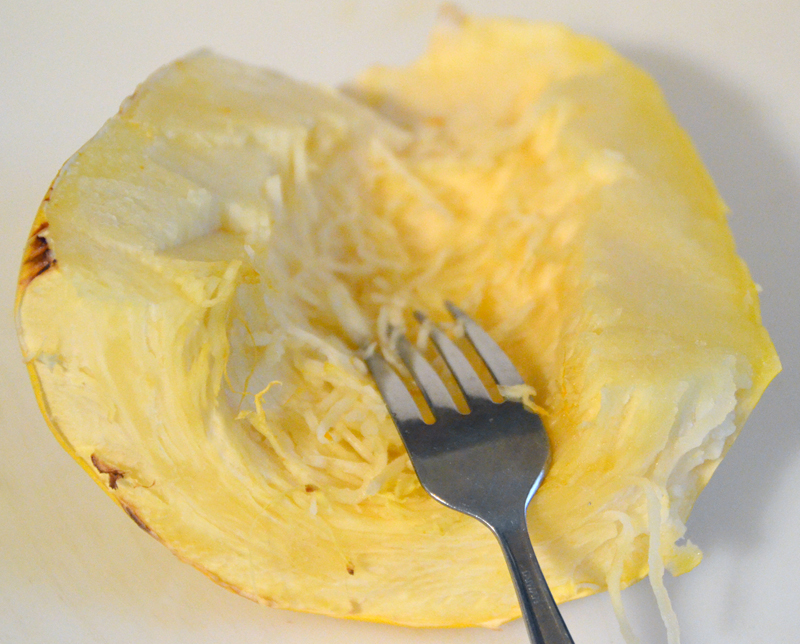
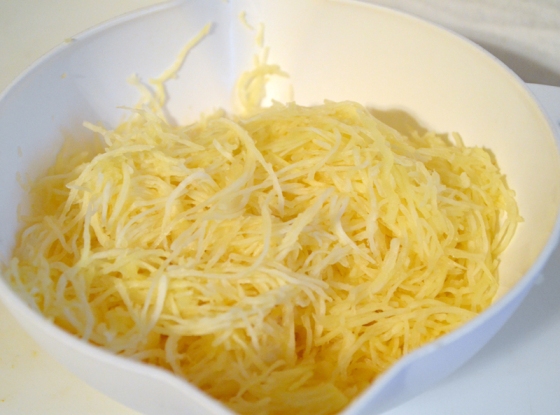
Once the squash is done baking, carefully remove it from the oven. You can either wait for it to cool or I use an oven mitt. Hold the squash and scrape out the insides with a fork.

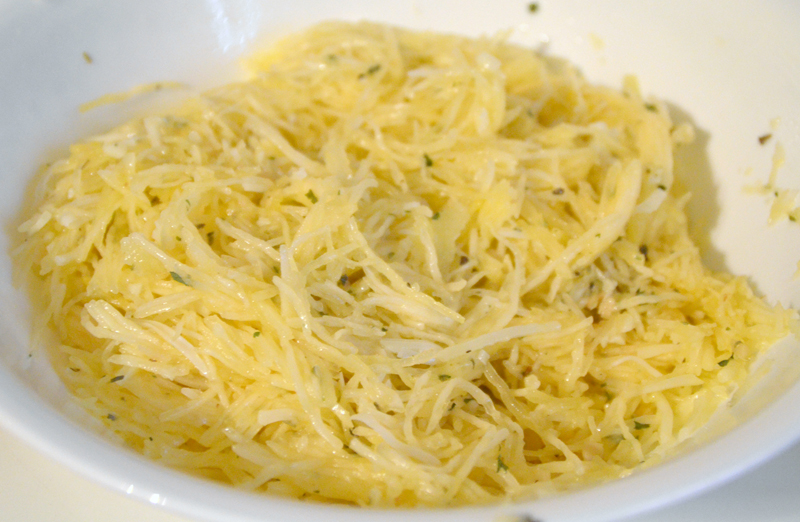
Put all the squash into a strainer as you scrape it out. Once you are down with all the squash make sure to strain it or dry it out.

Now you can add the squash to the rest of the crust ingredients. Make sure to mix it well.

Now on either a round baking pan or a cookie sheet spread a piece of parchment paper. Don’t forget the parchment paper! It makes it much easier later. Spread the crust out over the parchment paper and pat down to make a layer of crust.

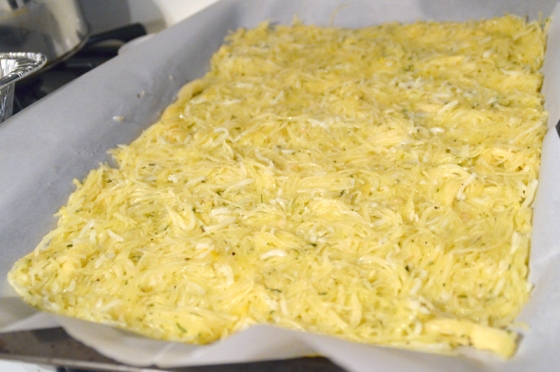
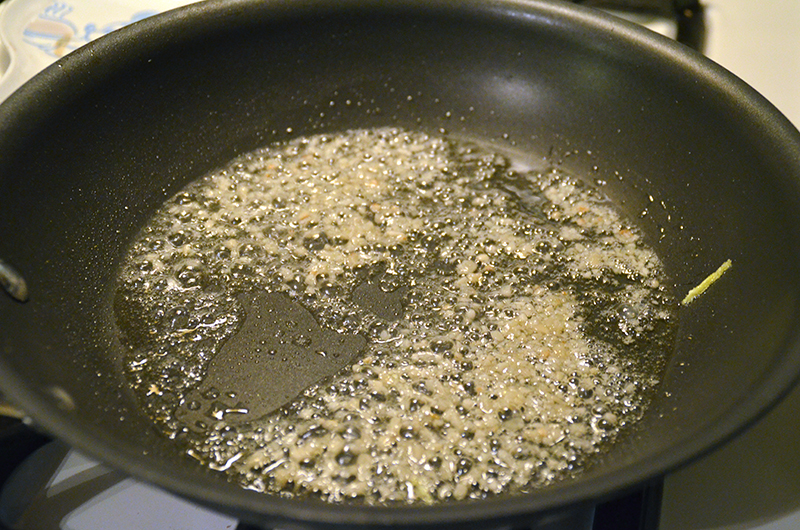
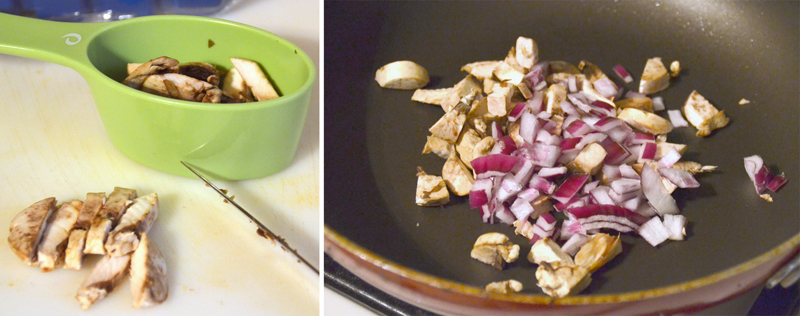
Bake the crust at 400 degrees to 12-15 minutes, or until the crust appears dry. While the crust is baking cut up mushrooms and onions and sauté them until cooked.

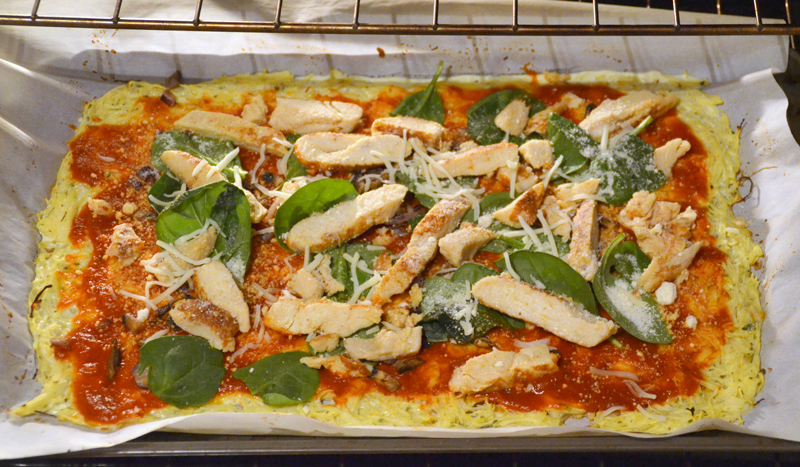
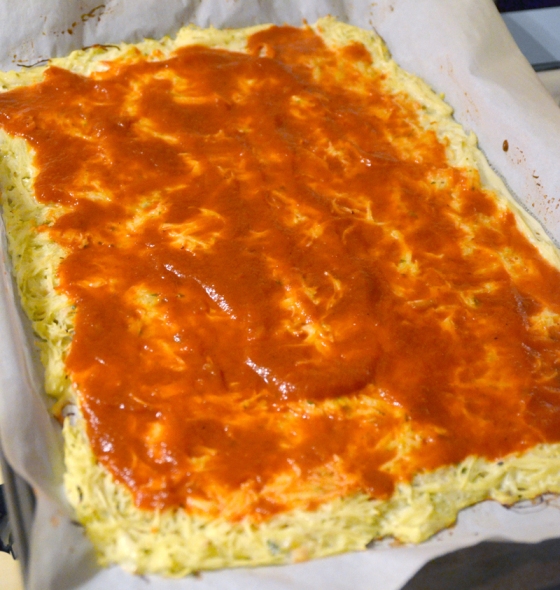
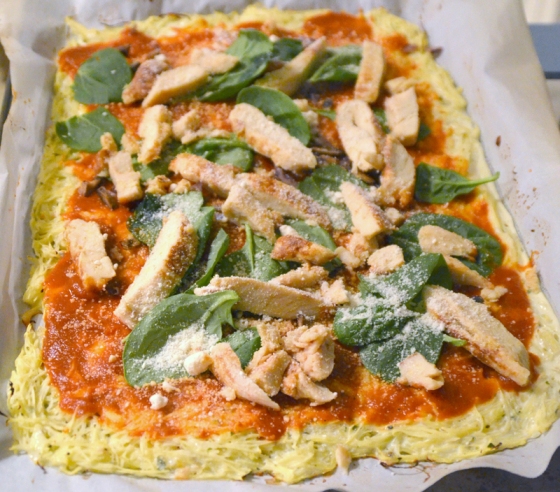
Once the crust is dry and cooked remove from the oven and spread the pizza sauce over the whole thing.

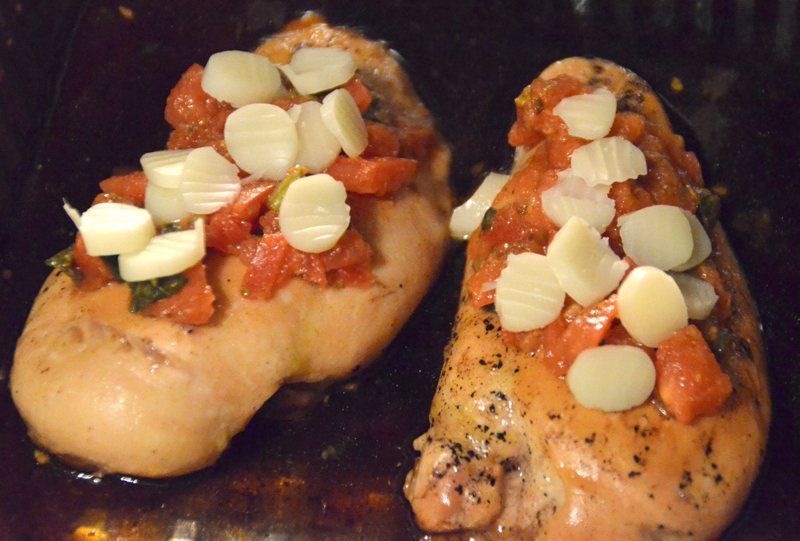
Now this is where this pizza can become anything you want…the toppings! I decided to use mushrooms, onions, baby spinach, chicken and parmesan cheese. Then I sprinkled the remaining 1/4 cup of mozzarella cheese over that.

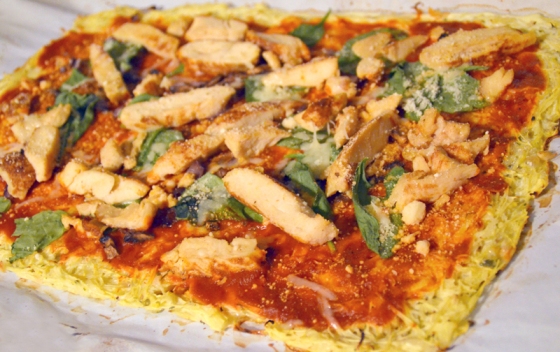
Pop it back in the oven on 400 degrees for another 10-15 minutes or until the cheese is bubbly and browned.

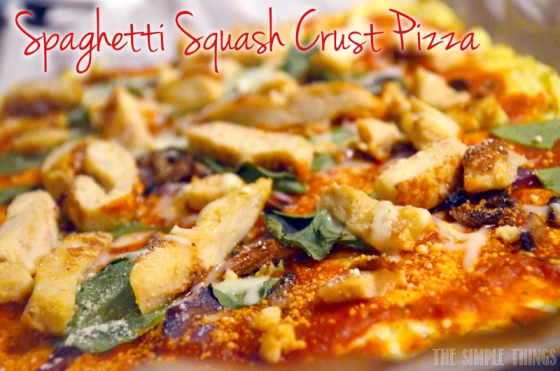
And voila! A delicious pizza made with spaghetti squash! Let it cool a few minutes then slide the parchment paper off the pan and slice it up.

It was so good I gobbled it up. I always eat pizza with a fork and knife and this definitely is a little softer than normal pizza so I recommend a fork and knife. I split the pizza into 3 servings (since there are only 3 of us) but they were pretty large servings so it definitely can feed 4 people. I cannot wait to try this crust with all different kinds of toppings!

Spaghetti Squash Mushroom Chicken Pizza

Ingredients
4 cups cooked spaghetti squash (2 small)
1 cup shredded reduced fat mozzarella cheese
1 egg
2 egg whites
2 cloves garlic, minced
1 tsp. oregano, dried
1 tsp. parsley, dried
salt & pepper

Toppings
1 cup mushrooms, chopped
1/4 red onion, diced
1 cup pizza/pasta sauce
1 cup fresh baby spinach
1/4 cup grated Parmesan cheese
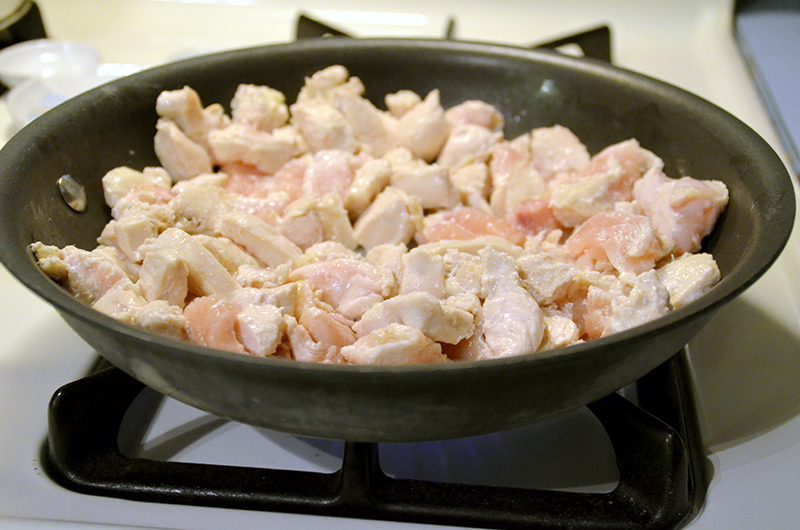
8 oz. Rotisserie Chicken

Directions
Preheat oven to 400. Line pizza pan with parchment paper (DO NOT skip the parchment paper!!)

Poke holes in spaghetti squash shell and microwave 5 minutes. Remove and cut in half, then in half again. Remove insides. Place in baking tin with a little water and bake at 400 for 30-40 minutes. Remove and let cool. With a fork scrape out spaghetti squash. Press your spaghetti squash in a strainer to get out any excess moisture (or use cheesecloth).

In a large bowl, combine spaghetti squash, 3/4 cup mozzarella cheese, egg & egg whites, garlic, and spices. Mix together until well combined. Let sit for a few minutes – if you notice a lot of liquid gathering in the bottom of the bowl then drain it off.

Press the squash mixture evenly into the prepared pizza pan.

Bake at 400 for 12 – 15 minutes, until crust appears dry.

While the crust is baking – sauté the mushrooms and onions in a fry pan until mushrooms are soft and onions are translucent. Remove from heat.

Remove pizza crust from oven. Spread the pizza sauce over the crust. Spread your onions, mushrooms, spinach and chicken over the sauce. Top with the Parmesan cheese and remaining 1/4 cup mozzarella cheese.

Return to 400 degree oven and bake another 10 – 15 minutes or so – until cheese is bubbly and edges of crust are browned.

Let sit for about 5 minutes before cutting. You can use the parchment paper to slide it off the pan to make it easier to cut.
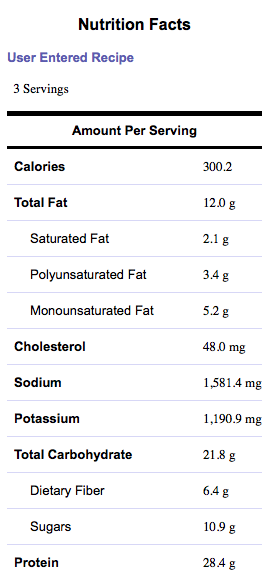
Nutrition
Serves 3
Calories: 328 | Carbs: 21 | Fat: 7 | Protein: 39
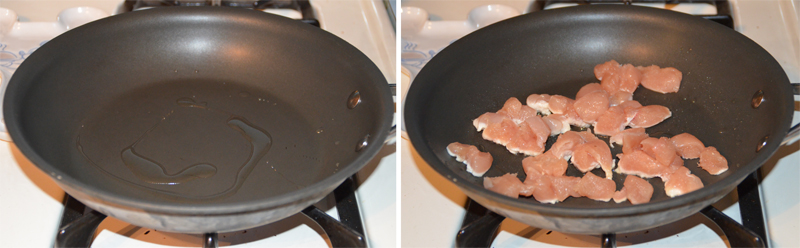
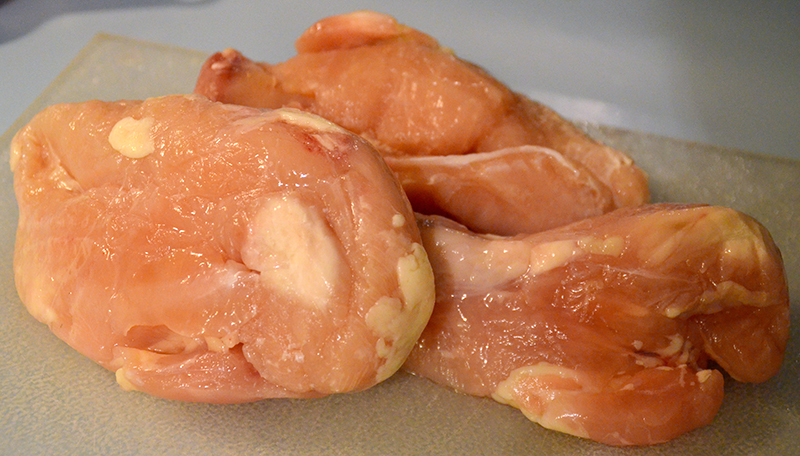
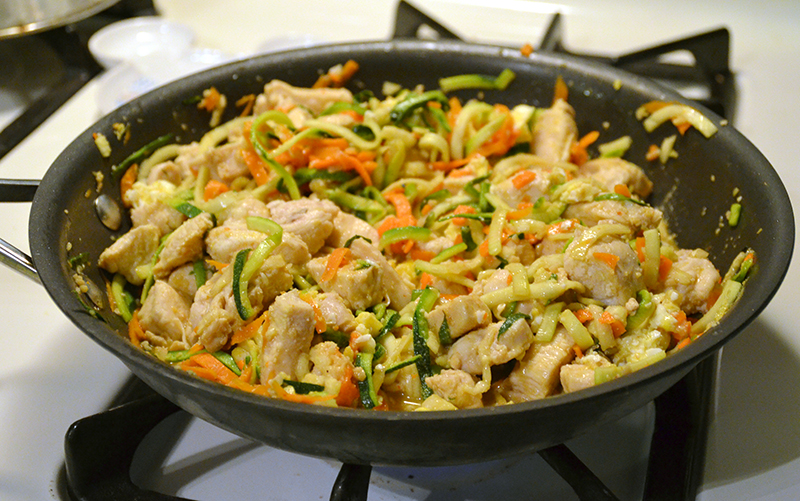
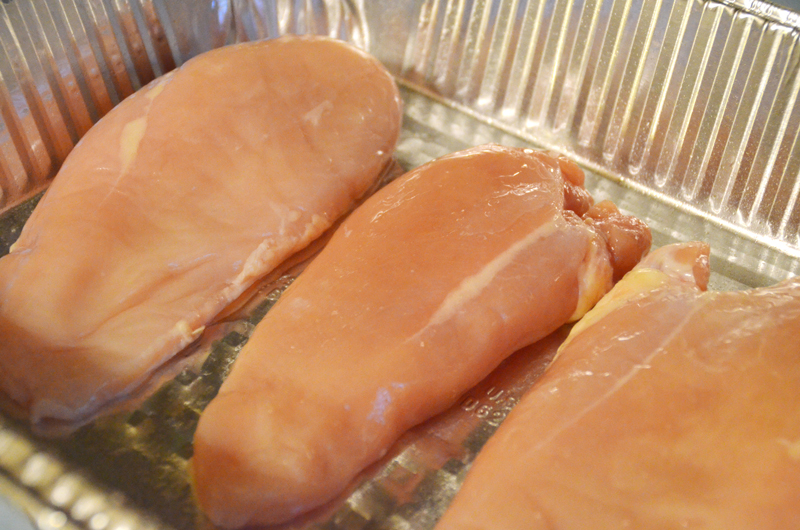
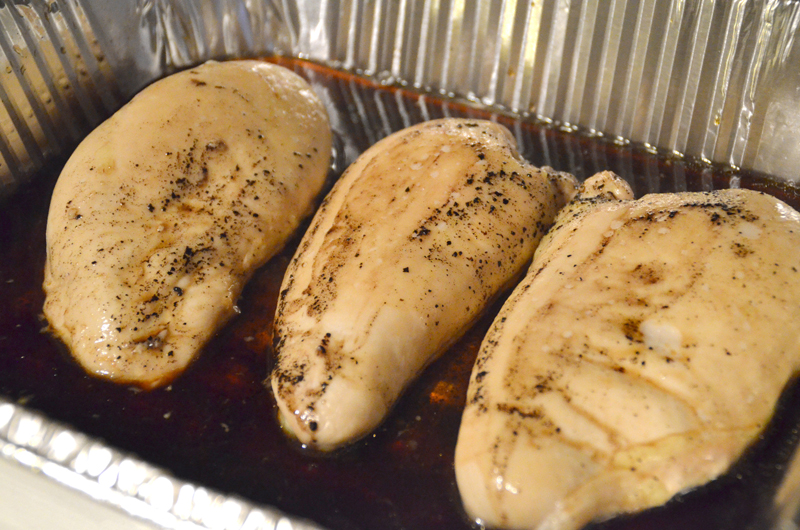
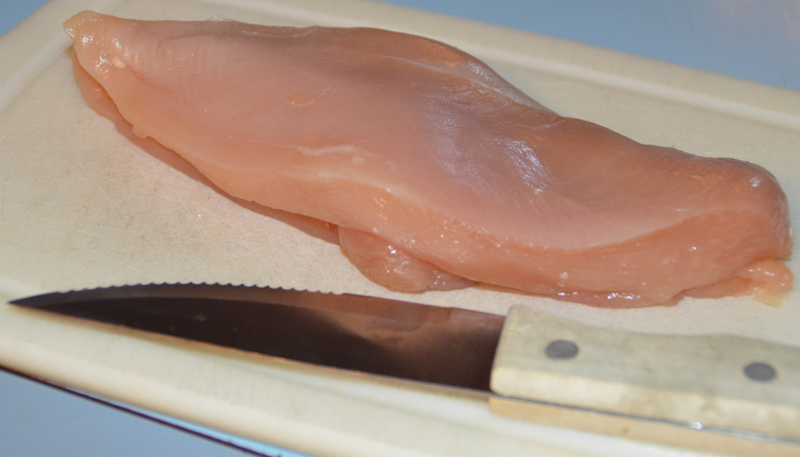
Avocado, Mozzarella and Bruschetta Chicken

So I originally found this recipe on my absolute favorite recipe blog Iowa Girl Eats. I seriously pin almost all her recipes. I don’t know how she can make such amazing looking food almost every day! I did a few things different in my recipe, but it tasted amazing. I mean who doesn’t love tomatoes and avocado for dinner.

Now I still live at home and I know it sounds ridiculous but I don’t do my own food shopping. It’s not that I can’t or don’t want to it’s just that my mom has a system. When she goes food shopping it is a process and most of the time she gets annoyed when I go because I tend to not follow her system. So I usually just give her a list of ingredients we need for recipes and other daily essentials. A lot of times though when I give her my list she says things like “oh we have that”. Which brings me to my balsamic. I am pretty sure this stuff has been in our cabinet since we moved into the house 10 years ago, but it tasted fine and no one felt sick.

I put the balsamic on the stove  to boil.

What the instructions said was that once I brought it to a boil I should let it simmer to thicken. Well that didn’t happen. I will blame it either on the age of the balsamic or my lack of patience. What I got was hot balsamic the same conisitency I started with.

So at this point I decided to improvise. I also am not a fan of frying chicken on the stovetop with oil. Not sure why I just like it better baked. So first I put my chicken in a baking dish with the olive oil coating it.

Halfway through cooking I poured the balsamic into the pan with the chicken to keep it moist and because this balsamic was in no way going to be a reduction on it at the end. I even think it started to burn a little when I was cooking it.

My mom insisted we had shredded mozzarella cheese at home, but of course we didn’t. We did have regular mozzarella, but with Weight Watchers I don’t want to bump up the points anymore than I have to. So instead this time I cut up a piece of string cheese I had.

Next I prepared the avocado. First you cut it in half down the middle. You have to cut around the core.

Next you use a knife to pop out the core and then use a spoon to scoop the avocado out of the shell.

Last I cut it up into slices.

Avocado, Mozzarella and Bruschetta Chicken

Once the chicken was almost done I added the bruschetta and cheese to it and put it back in the oven. The original recipe had the cheese over the avocado, but I am not a fan of warm avocado really.

Once the cheese was melted I took it out of the oven. The string cheese didn’t melt great, but it was gooey so it worked.

Then I plated it and topped it off with my slices of avocado.

Avocado, Mozzarella and Bruschetta Chicken

Serves 3 | 10 Points+

Ingredients:
1 cup balsamic vinegar
3 (4 oz. each) chicken breasts, pounded to an even thickness
1 tsp. extra virgin olive oil
Salt & Pepper
6 tbsp. cup pre-made bruschetta topping
1 avocado, sliced
2 oz. fat-free shredded mozzarella cheese

Directions:
Pour balsamic vinegar into a small saucepan then bring to a boil. Turn heat down to medium then simmer and reduce until vinegar is thick enough to coat a spoon, about 20 minutes. (Vinegar will continue to thicken while cooling.) Set aside to cool.

Preheat oven to 375 degrees. Brush chicken breasts with extra virgin olive oil then season with salt and pepper on both sides. Place chicken in baking dish and bake in oven 25-30 minutes or until no longer pink in the center.

Remove from oven then top with 2 Tablespoons bruschetta mixture and sprinkle each with mozzarella. Bake again until cheese has melted. Top with avocado then drizzle with the balsamic vinegar reduction.

Tada! a delicious dinner paired with veggies. I loved the creamy avocado on top and the chicken itself was infused with the balsamic flavor since I baked it in the sauce.

I also have decided to start writing these recipes down. I mean I have them written down in Word, but I decided to fancy them up on these new recipe cards. I can’t wait to continue adding to my recipes!

What do you do to keep your recipes organized?